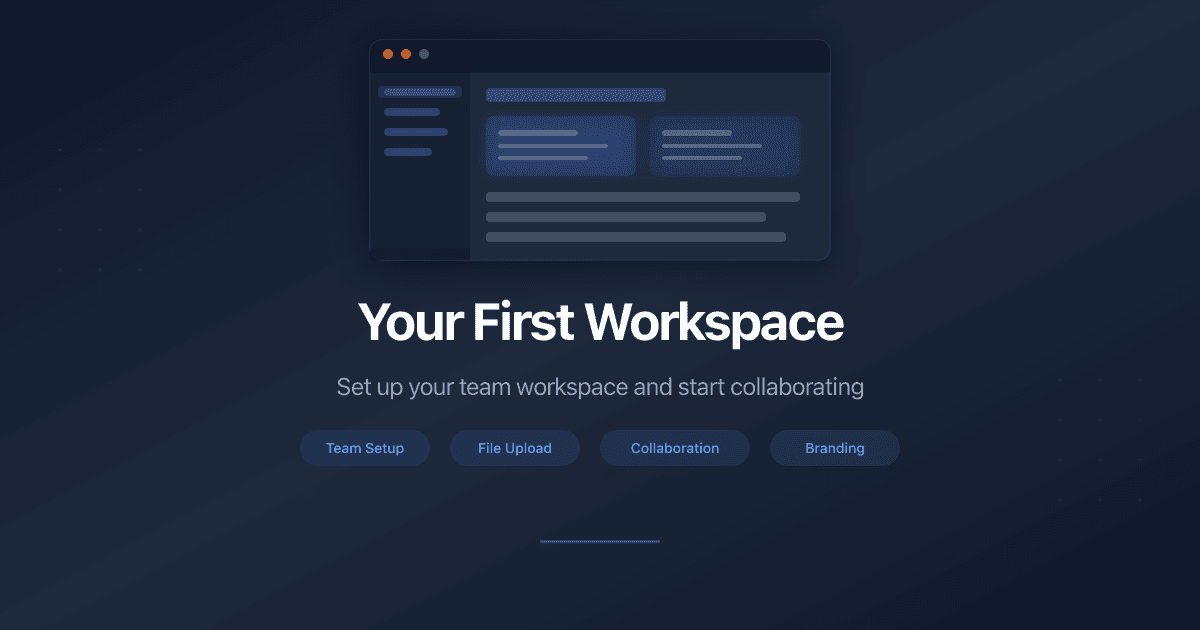
Your First Workspace - What PaperLink Creates for You
What Happens After You Sign In
The first time you sign in to PaperLink, the platform creates a complete workspace behind the scenes. By the time your dashboard loads, you already have a team, a company, a sample client, a product, financial accounts, and a full set of expense and income categories. No setup wizard, no blank screens - you land on a workspace that is ready to use.
Your Workspace at a Glance
Here is everything PaperLink creates for you automatically:
| Entity | Default Name | What It Is |
|---|---|---|
| Team | My Team | Your workspace - all data lives here |
| Company | My Company | Your business identity for invoices and estimates |
| Client | My First Client | A sample client to send your first invoice to |
| Product | Web Development | A sample service at $10/hour |
| Bank Account | (linked to My Company) | Company financial account for tracking income |
| Personal Account | My Personal Account | A personal cash account for everyday expenses |
| Document Statuses | Draft, Sent, Viewed... | 11 statuses for invoices and estimates |
| Categories | Housing, Marketing, Payroll... | Full tree of income and expense categories |
Every default entity is editable. Rename "My Company" to your real business name, update the sample client, and adjust the product - your workspace adapts to your business.
Team
PaperLink organizes all your data under a team. Think of it as your workspace container - invoices, clients, products, and financial accounts all belong to a team.
Your first team is called My Team and runs on the Free plan. You are the Owner, which gives you full control over settings, members, and billing. The base currency is set to USD by default.
What the Free Plan Includes
The Free plan lets you explore every feature. As your business grows, you can upgrade to unlock higher limits on documents, clients, and team members.
Company
Your team starts with one company called My Company. A company in PaperLink is the legal entity that appears on your invoices and estimates - your business name, address, logo, and tax details.
PaperLink also creates a bank account linked to this company. When you send invoices and record payments, the money flows into this account.
You can create multiple companies under one team. Freelancers with a side business, agencies with multiple brands, or consultants operating under different legal entities can manage everything from a single workspace.
Client
A sample client called My First Client is ready for your first invoice. Open it, update the name and contact details to match a real client, and you are set.
Clients in PaperLink store the billing information you need for documents: name, email, address, tax ID, and preferred currency.
Product
PaperLink seeds a service called Web Development at $10 per hour. Products and services are reusable line items - add them to invoices and estimates instead of typing the same description every time.
Edit the name, rate, and unit of measure to match what you actually sell. You can create as many products as you need.
Financial Accounts
Two financial accounts are created by default:
- Company bank account - linked to My Company, tracks business income and expenses
- My Personal Account - a personal cash account, separate from your company finances
Financial accounts are where you record transactions. When an invoice is paid, you log the payment to the company account. When you buy office supplies with personal funds, you log it to your personal account.
Personal accounts are private to you. They appear in your team workspace but are not shared with other team members.
Document Statuses
PaperLink tracks invoices and estimates through a status pipeline. Each document type has its own set of statuses, created automatically:
Invoice statuses:
- Draft - work in progress, not yet sent to the client
- Sent - delivered to the client
- Viewed - the client opened the document
- Overdue - past the due date without payment
- Rejected - the client declined
- Paid - payment received
Estimate statuses:
- Draft - work in progress
- Sent - delivered to the client
- Viewed - the client opened the estimate
- Rejected - the client declined
- Accepted - the client approved the estimate
You can add custom statuses later to match your workflow - for example, "Under Review" or "Partially Paid."
Expense and Income Categories
PaperLink creates a full category tree for organizing transactions. Categories are hierarchical - up to three levels deep - so you can track spending at whatever granularity you need.
Expense categories include:
- Office & Workspace (rent, furniture, supplies)
- Marketing & Advertising (digital ads, print, PR)
- Professional Services (legal, accounting, consulting)
- Software & Subscriptions (SaaS tools, licenses)
- Payroll & Contractors (salaries, freelancer payments)
- Transportation & Vehicle (fuel, maintenance, parking)
- And many more
Income categories include:
- Business Revenue (product sales, service income)
- Investment Income (dividends, interest, capital gains)
- Rental Income
- Royalties & Licensing
- And more
Every category is editable. Rename them, add subcategories, or archive ones you do not use.
What to Do Next
Your workspace is ready. Here are the first steps most users take:
- Rename your company - open My Company and enter your real business name, address, and logo
- Update the sample client - replace "My First Client" with an actual client
- Edit the product - change "Web Development" to your real service or product
- Create your first invoice - pick the client, add line items, and send it
Related
- Sign In to PaperLink - how to create your account with Google, LinkedIn, or Telegram
Was this article helpful?
Need more help?
Browse our help center or reach out to our team for personalized assistance.